Showing posts with label Table Top Battles. Show all posts

Sunday, 12 June 2022

The Paperboys of Peter Dennis and the English Civil War.

 Some years ago my Wargaming activities involved the 17th century. Both the Thirty years War and the English Civil War occupied the time of myself and my mates. The European theatre we gamed with 25mm figures, however the English War was the main event.

Having sold my 25mm figures ( fiscal paucity was a constant back then), I bought a load of 6mm figures. The Matchlock rules came from using them.


A mate of mine came up with a campaign with three of us as Royalists and three as the Roundheads. The large battles were fought with the 6mm figures and the skirmishes with the 25mm stuff. Well, I was Charles 1st and even though we just played it as a campaign, well, you know what happened to me!

Anyway, I digress. Roll on 34 years and once again, I feel drawn back to this conflict. This time though, I didn’t want to collect and paint the figures! I had purchased Peter Dennis’s book on the English Civil War, and it had been on my bookshelf for a while. When published, Peters books drew a bit of negative press, not for the content which is excellent.

No, it was the thought of printing and cutting out all the paper figures, that didn’t appeal to a number of people including myself. Each figure or group of figures has a front and back like the stickers in the Command and Color’s games. That’s when I had this idea. Why not make the blocks out of foam board stuck on cardboard!

I got some pages printed up. ( Peter has given his permission for personal use in the book.) I cut them out and stuck them on blocks. Well it works. So, here’s how

1) The first item is to get your pages printed. I went to a Printers and asked for three copies of all the pages of the figures. I had this done in A5 to reduce the size a bit, on 100gsm paper

2) Material items required ;

       PVA glue

       A Pritt stick ( or any paper glue ).

       A packet of cocktail sticks.

       A packet of  self adhesive labels.

       2 or 3 sheets of A4 Foamboard.5mm thick.

        A length of rubber tubing 4mm x 1mm.

        Some picture framing stiff cardboard.

        Some pots of acrylic paint ( optional) ;

        Blue, Red, Green and Silver.

        A sheet of graph paper.

       A packet of dressmaker pins.

    Note; Most of the above can be obtained from local stores or from Amazon.

TOOLS REQUIRED;

A good crafting knife ( young people should ask a parent ).

A good pair of scissors ( young people should ask a parent ).

A pair of wire cutters. ( otherwise known as “ small side cutters” ) these are for cutting the cocktail sticks and clipping the corners of the bases.

A cutting mat. ( If you can get one of these it saves a lot of measuring).

A pair of tweezers.

3) THE INFANTRY AND DISMOUNTED DRAGOONS.

I cut these blocks first from the Foamboard, 25mm high ( 1 and 1/8th inches ) by 30mm wide ( 1 and 5/16th inches). 36 are required for two armies.


Next, I cut the bases from the picture-framing cardboard. These are 15mm deep (6/8ths )x 40 mm wide ( 1 and 11/16th inches ).

For the DRAGOONS, the bases are 20mm deep (7/8ths of an inch ) and 40 long ( 1 and 11/16ths inches ).

You will notice that I have clipped the corners of the bases. This stops the cardboard from “ fraying “ and makes the cardboard more durable.


Once the blocks and bases were cut, I started on the illustrations. I cut these out less the green bases. This is where you need to keep an eye on the pairs ( back and front.)

Once these were cut, I then used the Pritt stick on the blocks gluing the illustrations. Be aware that once the illustration is laid on It Is On!


Once all the Infantry were glued to the blocks, I glued the blocks to the bases using the PVA glue. You can be a bit generous with the glue because it shrinks and drys clear. It takes a while to dry. Put these to one side.

THE DRESSMAKER PINS;

If your cutting is a bit wonky like mine then this is where the pins come in. If the block won’t stand up straight when using the PVA, put a pin in in the base and push it gently against the block until it’s vertical and leave to set.


THE PIKEMEN;

The Pikemen are stuck to the same size blocks. When they are dry, stick them to the bases as for the Muskets. Once they have dried for the second time, cut 4 cocktail sticks to 40 mm. (1 and 11/16ths )

Glue on the cocktail sticks by putting some PVA glue on the hand and on the base. Once done leave them to set. The next part was to paint the tips in silver. On the body of the pike,I painted a blob of blue or red paint then a blob of Flesh colour to show a hand.


THE CAVALRY AND MOUNTED DRAGOONS;

The same procedure is followed for the cavalry and Dragoons. The foam blocks are 30mm ( 1 and 1/4 inches ) x 30mm ( 1 and 1/4 inches ). The bases are 15mm deep ( 6/8ths of an inch ) x 40mm wide ( 1 and 11/16th inches ). Again, making sure you have the back and front pairings, use the Pritt stick to glue the illustrations to the blocks. Any overlaps go to the bottom. I trim these up before gluing the blocks to the picture framing cardboard with the PVA glue.

THE DRAGOONS;

Again. These bases are 20mm deep (( 15/16ths) by 40 mm long.(1 and 11/16ths ).


THE ARTILLERY;

These blocks are 25 mm high (  1 and 1/8th inches )by 45mm wide ( 1 and7/8th inches ).The illustrations are a bit tricky because the crew are separate from the cannon so a little more work is required. The bases are 15mm wide ( 6/8ths ) by 45 mm wide ( 1and 7/8th inches).


THE COMMANDERS;

The Commanders are separate along with some standard bearers so, sizes vary according to composition. They are 35mm high ( 1 and 1/2 inches)  and between 30 to 45mm wide ( 1 and a 1/2 inches to 1 and 7/8ths inches ).The bases are 15mm wide ( 6/8ths of an inch ) and up to 45 mm long ( 1 and 7/8ths inches ). Some of the Generals are drawn with two arm positions. Using the craft knife carefully remove one arm.


Once you have assembled the blocks, it’s time to think of flags and about painting——or not, depending how much work you wish to do.


THE FLAGS;
 I cut the cocktail sticks to 50mm. ( 2 and 1/16th of an inch).The flag strips are cut from labels 15mm wide.( 6/8ths).


I used graph paper to line up the crosses on the flag


I drew the crosses onto the flags with a red ballpoint pen. The rest of the flag surface I painted in blue and red. When this had dried, I painted the tips in silver. The Dragoon flags were rounded at the ends to help with identification. The artillery flags I cut like a pennant.


THE FLAG HOLDER:
While the flags are drying, I glued 10mm ( 9/16ths ) 4mm in diameter pieces of rubber tubing to the back of the stands with the PVA glue.


Once all the stands are dry, they can be painted if required. I used Game Workshops Moot Green, but this is personal choice. I painted one side, of the top surface, let it dry then painted the other side.


The army is now assembled


I have assembled these two armies for my own Table Top Battles ruleset where one stand sits in a square. However, if you like the larger formations ( or larger armies)with the chance to represent line and column the stand sizes will allow for this.

You can also enhance the blocks with a bit of light shading. There are also Infantry and cavalry Command groups included amongst the illustrations allowing Regimental actions.

Peter has done other books on different Eras. These two armies took me two weeks doing an hour/ 2 hours every day. I must admit it was good not having to paint loads of figures ( my time is limited these days ). If this might suit your gaming have a look on www.helion.co.uk and type “Peter Dennis” in the search box.

 Peter has done a number of books on different eras of British history. Now I’ve done the armies, a few battles are in order!

Ps. I’m hoping Peter will create Macedonian Successors, Galatian’s, or even Early Carthaginians and Greeks!

ADDENDUM 6th January 2025.

Following on from this blog, I have since discovered that Peter has his own “ Peterspaperboys.com” Website. There are loads of different armies ( for a price) to download and print out.

Monday, 6 December 2021

Battle of Dettingen; 27th June 1743.

This is my own interpretation of events. Any mistakes are my own.

As part of the Pragmatic agreement the British Government sent troops to Europe to aid the Empress of Austria in her fight against Prussia. This was also in response to French intervention on behalf of Bavaria. The French were supporting  Charles the 7th of Bavaria as the elected leader of the Holy Roman Empire in opposition to Austria.


The King of Britain, George the 2nd was also the Duke of Hanover.  As much as he wanted to be seen as a staunch ally of Austria, the action was perceived by some to be a move to protect Hanover from any French takeover. This rumour was further strengthened when the Pragmatic Army stayed on the northeastern bank of the Main.

[ George was also known as an "Elector". These were a group of Princes within the Empire who formed a Council to elect the Holy Roman Emperor ].

As stated before, the British troops were auxiliary to the Hanovarian army as were the Hessians. The other main component were the troops from the Austrian Netherlands ( modern Belgium ), commanded by the Duke of Aremberg.


June of 1743 found the Pragmatic army camped at Aschaffenberg enroute to Bavaria. While there the information came that the French had retired from Bavaria, having lost the campaign against the invading Austrians.

In order to save his kingdom , the Emperor Charles 7th ( who was also the Wittalsbach Duke of Bavaria ), made peace with the Austrians thereby negating the reason for the the Pragmatic army to be there!.

[ Very soon after this Charles 7th expired. His son Maximillian 3rd Joseph succeeded him. By 1745 Bavaria was in ruins. To gain peace with Austria, Joseph acceded to Hapsburg Austria,s right to rule the Holy Roman Empire, an entity in name only ].

The Allied army had further problems. Supplies coming down the river Main from the Netherlands had been cut off by French Forces. The senior commanders also had to wait on the deliberations of George the 2nd.  The King expressed the wish to lead the army in person.

This created further headaches for the commanders who were in charge of an army that was starving, and suffering from a breakdown in discipline. By the time the King arrived from Hanover, the army was in a bad way. In Council the decision was made to march north,through Dettingen to Hanau and back to the Netherlands.

The French Marshal , the Duc De Noailles, watching these events, conceived a plan to take advantage of the dire situation in which the allies found themselves. Realising that the Allies were heading toward Dettingen, the Duke laid his trap. 


To the south of Dettingen was a boggy ravine behind which Noailles positioned 21,000 infantry and 12,000 cavalry commanded by the Duke De Gramont assisted by the Count De Harcourt.

On the west side of the river Main the Marshal positioned his artillery to fire into the left flank of the enemy army as it advanced toward the ravine. After the Allied army had marched from Aschaffenburg, the Duke sent another 12,000 men into the town behind the Allies. With the Spessart hills to the East, the. Allied  Army was effectively trapped.

Well, that was the plan which, had it been enacted would have been the end of the Allied Army and the humiliating capture of a King!

In a moment of madness, all the careful planning was undone. For reasons only known to the Duc De Gramont, this same gentleman suddenly left his advantageous position behind the boggy ravine and led the army across the only bridge onto the plain.

To the Duke De Noailles horror the cavalry then charged the left of the Allied army——-———.

Here are the armies laid out for battle,


THE PRAGMATIC ARMY; 38,200 + 98 guns.

[ 98 x 30 men for each gun = 2940 men. 2.940 pts x 2 = 5.880 or 6 points in guns].


BRITAIN;

3,600 Line Infantry = 3.600 x 2= 7 points r/d.
1,600 Cavalry = 1.600 x 2= 3 points r/d.

1 C-in-C King George 2nd @ 1 point.
1 General, John Dalrymple, Lord Stair @ 1 point.
3 stands of Line Infantry @ 2 points = 6 points.
2 stands of Dragoon Cavalry @ 1 point = 2 points.
2 stands of Light Artillery @ 1 point = 2 points.

[ note; The British Guards and Grenadiers were sent back toward Aschaffenburg to act as a rearguard which did not go down well with the troops!].

HANOVER;

10,000 Line Infantry = 10 points x 2 =20 points.
2,000 Cavalry = 2 points x 2 = 4 points.

1 General, Ilton @ 1 point.
1 stand of Grenadier Infantry @ 4 points.
5 stands of Line Infantry @ 3 points = 15 points.
2 stands of Dragoon Cavalry @ 2 points = 4 points.
1 stand of Heavy Artillery @ 2 points.

HESSE;

4,200 Line Infantry = 4.200 points x 2 = 8 pts r/d.
800 Dragoon Cavalry = 0.800 points x 2 = 2 pts r/u.

1 stand of Grenadier Infanty = 4 points.
2 stands of Line Infantry @ 2 points = 4 points.
1 stand of Dragoon Cavalry @ 2 points.

AUSTRIA;

14,000 Infantry = 14 points x 2 = 28 points.
2,000 Cavalry = 2 points x 2 = 4 points.

1 General, Leopold Phillipe D,Aremberg @ 1 point.
2 stands of Grenadier Infantry @ 4 pts = 8 points.
6 stands of Line Infantry @ 3 points = 18 points.
2 stands of Dragoon Cavalry  @ 2 pts = 4 points.
1 stand of Hussar Light Cavalry @ 1 point.
1 stand of  Heavy Artillery @ 2 points.

FRENCH ARMY;

21,000 Infantry = 21 points x 2 = 42 points.
12,000 Cavalry = 12 points x 2 = 24 points.
54 guns  [ 54 x 30 = 1620 = 1.620 x 2 = 3.240 = 3pts r/d.

1 General and C-in-C Louis de Noailles @ 1point.
1 Louis de Gramont the 6th. @ 1 point.
1 General Louis de Lorraine Count of Harcourt @ 1 point.

1 stand of Grenadier Infantry @ 4 points.
11 stands of Line Infantry @ 3 points = 33 points.
2 stands of Light Infantry @ 1 point = 2 points.
8 stands of Cavalry @ 3 points =24 points.
3 stands of Light Artillery @ 1 point = 3 points.


Historical Notes;

I have read various accounts of this battle and in each, the numbers are different. The British troops were numbered as 16,000. Looking at the list of regiments, I can only tally approximately 6,000.

The Hanovarian army were dressed in uniforms practically the same as the British, with red being the main colour so I wondered if the  Hanovarian troops were thought of as British?


I had a similar problem with the French. I dont know wether the 12,000 that the Duke sent toward Aschaffenburg were part of the main army or were additional.

So, the figures I have given above are conjectural, but it seems to work. I think Noailles was on the west bank with the guns where he could order both wings of his army. However the troops intended for Aschaffenberg never actually got there. Simularly, the British and Hanovarian Guards were sent back toward Aschaffenberg as a rearguard, so were not involved in the action, for which they were later ridiculed by the Line troops!.


The river Main meanders in roughly a south easterly direction across modern Germany. The battle took place on part of the river that runs approximately north to south. The French batteries turned out to have very little effect on the battle. They were also masked by their own Cavalry.

Some time after the battle, Marshal Noailles told the French King, Louis the 15th that discipline in the army was collapsing. Given the defeats that the army had previously suffered along with the harsh natural conditions the army was operating in, it was understandable.

It would be down to Marshal Maurice de Saxe to restore French honour at Fontenoy.

It is interesting to note, that up to this point in time both Britain and France were not officially at war. Both were acting as auxiliaries to other Powers.

Fighting the Battle;

* On the 1st Game-Turn, the French move first and fire first and also have the Initiative Point.

* On Game-Turns, 2 to 8, the Pragmatic Army move and fires first and retains the Initiative Point. The Pragmatic Army also wins any ties.

* Any stands having to move into the river Main will be lost.

* The Ravine;
I'm not sure how much of an obstacle this was, but the fact that Gramont moved the army over the bridge illustrates how much of a problem it presented to movement.

Therefore, any stands moving into the ravine have to stop immediately. If, during " move back" a stand has to stop before the regulation spacing can be obtained, that stand is removed from play.


CREDITS;

Most of the figures are Miniature Figurines 15mm with a mix of Peter Pig and Essex Miniatures. The wagons are from Peter Pig.
The houses are from Total Battle Miniatures. The trees are from various manufacturers.
The square stands are cut from picture framing cardboard, the round mdf bases at from Minibits.
The hills are scratchbuilt as are the bridges. The roads and rivers are cut from thin card. As before, the board is 3 feet x 2 feet ( 90cm x 60 cm ).


Friday, 12 November 2021

The 5th Century in Britannia, part 7: Arthurs Battles of the Dark Waters.

 This article is my personal interpretation as a wargamer, of events in this era. Any mistakes are my own.

FIGHTING THE BATTLES;

* The Briton Army keeps the Initiative Point for the duration in every battle.

* The Briton Army moves first in every Game-Turn in every Battle.

* The Briton Army fires first where possible in every Game-Turn in every battle.

* Each battle will be played for eight Game-Turns, unless one side concedes before.

* In the first three battles, the rivers are shallow and do not impede movement and firing

* In the fourth battle the river Wharfe is more difficult therefore, stands must stop moving when they enter the river. Stands cannot fire whilst positioned in the river. They also suffer the combat penalty.

May 486 AD. After the second battle of the River Glyme, there was no time for the Britons to celebrate. Having received a message from King Einon of Gwynedd that Seaxons had crossed the Ouse at Eboricum. Arthurs army is marching north.

After eighteen days, the Briton army reaches Deva [ Chester ] which King Einon is using as his Capital. While the army prepares, 4,000 Saxons have been ravaging the area west of the River Ouse.

Arthur has 3,500 men with a further 800 men of the Gwynedd Militia. Einon has already lost a number of warriors trying to halt the Seaxon raids, but there has been no unified effort.

Arthur,s scouts locate the Seaxon host at Coccium [ Wigan ]. Therefore, his first destination was Condate [ Northwich ]. While in camp, Arthur is informed that the Seaxons are heading south-east laden with plunder and heading toward Manucium [ Manchester ].

As the morning progresses Arthur gives the orders. The army marches to the North of Manucium.  As the Saxon army spots the Briton army approaching, Bardulf and Colgrin order their warriors into a shieldwall. The Battle of the Dark Waters begin.

BATTLE OF THE RIVER DOUGLAS JUNE 486 AD. GWYNEDD. ( 1st battle ).


THE BRITON ARMY; 4,530 = 4.530 pts x 10 = 45 points r/d.

900 Veteran Infantry = 0.900 pts x 10 = 9 pts = 4 stands @ 2 pts + *1 General @ 1 point =9pts.

300 Light Infantry Archers = 0.300 pts x 10 = 3 pts = 3 stands@ 1 point = 3 points.

375 Elite Cavalry = 0.375 pts x 10 = 4 pts =  *Arthur @ 2 pts + 1 stand of Cav @ 2 pts = 4 pts.

280 Regular Light Cavalry = 0.280 pts x 10 = 2 stands @ 1 pt = = 2 points. 

1,500 Hwicce Infantry = 1.500 pts x 10 = 7 stands @ 2 pts each = 14 points.

150 Hwicce Light Infantry Archers = 0.150 pts x 10 = 1 stand @ 1 point.

225 Tribal Light Cavalry = 0.225 pts x 10 = 1 stand @ 1 point.

800 Gwynedd Militia =:0.800 pts x 10 = 3 stands of warriors @ 2pts each + 1 Lt Archers @ 1 point + *1 General @ 1 point = 8 points.

* Arthur.

* Medreut.

Cadwy  @ 1 point.

Owain @ 1 point.

* Cadwallon.

Rogatainus @ 1 point.

THE SAXON ARMY; 4,000 = 4.000 pts x 10 = 40 points.

Bardulf @ 1 point.

Colgrin @ 1 point.

4 stands of Light Archers @ 1 point = 4 points.

17 stands of Warrior Infantry @ 2 points = 34 points.


Bardulf tells Colgrin the army must retreat eastward slowly and stay closed up.

Arthur tells Cadwy that he is to signal the attack. Once the army is assembled, Arthur has the horns sounded and Cadwy moves forward followed by Cadwallon and Rogatainus.

As the battle progresses the Seaxons start to retreat to the east. Arthur forbades any pursuit. The Seaxons are on the move for many hours through the night. Having reached the Old Teme river, they  have no time to rest before Arthur's army arrives.

BATTLE OF THE OLD TEME RIVER; GWYNEDD, JUNE 486 AD, ( 2nd battle).


THE BRITON ARMY; 3,800 = 3.800 pts x 10 = 38 points.

700 Veteran Infantry = 0.700 pts x 10 = 3 stands @ 2 points = 6 points.

200 Light infantry Archers = 0.200 pts x 10 = 2 stands @ 1 pt = 2 points.

350 Elite Cavalry = 0.350 pts x 10 = 1 stand @ 1 point. ( * Arthur @ 2 points.)

270 Regular Light Cavalry = 0.270 pts x 10 = 2 stands @ 1 point = 2 points.

1,200 Hwicce Infantry = 1.200 pts x 10 = 6 stands @ 2 pts = 12 points.

150 Hwicce Light Infantry Archers = 0.150 pts x 10 = 1 stand @ 1 point.

200 Tribal Light Cavalry = 0.200 pts x 10 = 1 stand @ 1 point.

600 Gwynedd Militia = 0.600 x 10 = 3  stands @ 2 points = 6 points.

* Arthur.

Medreut  @ 1 point.

Owain @ 1 point.

Cadwy  @ 1 point.

Cadwallon @ 1 point.

Rogatainus @ 1 point.

THE SAXON ARMY; 3,000 = 3.000 pts x 10 = 30 points.

Bardulf @ 1 point

Colgrin @ 1 point.

4 stands of Light Archers @ 1 point = 4 points.

12 stands of Warrior Infantry @ 2 points = 24 points.


The Seaxons locked shields near the riverbank. The Teme is not very deep. As soon as Arthur has his army assembled, he signals the attack. The Briton infantry make a number of assaults while the cavalry harry the wings of the Saxon host.


Being tired, it is not long before the Saxons start to break. Once again Arthur stops any pursuit. His men are told to rest and eat. Medreut and Cadwallon have both been wounded.

The Seaxons have to move east, following the Roman road past the old fort of Camuludunum. Many of the warriors are exhausted, so Bardulf calls a halt on the east bank of the river Calder. At midday, Arthur's army appears again. Once more the Saxons lock shields on the bank of the river.

BATTLE OF THE RIVER CALDER, GWYNEDD 486 AD ( 3rd battle ).


BRITON ARMY; 3,100 = 3.100 pts x 10 = 31 points.

600 Veteran Infantry = 0.600 pts x 10 = 3 stands @ 2 points = 6 points.

100 Light Infantry Archers = 0.100 pts x 10 = 1 stand @ 1 point.

300 Elite Cavalry = 0.300 pts x 10 = 1 stand @ 3 points.

200 Regular Light Cavalry = 0.200 pts x 10 = 2 stands @  1 pt = 2 points.

700 Hwicce Infantry = 0.700 pts x 10 = 3 stands of  Infantry @ 2 pts + 1 stand  of skirmishes @ 1 pt = 7 pts.

120 Hwicce Light Infantry Archers = 0.120 x 10 = 1 stand @ 1 point.

150 Tribal Light Cavalry = 0.150 pts x 10 = 1 stand @ 1 point.

500 Gwynedd Militia = 0.500 pts  x 10 = 2 stands of Warriors @ 2 points + 1 stand of Light Archers @ 1 pt = 5 pts.

Arthur @ 2 points.

Owain @ 1 point.

Cadwy  @ 1 point.

Rogatainus @ 1 point.

THE SAXON ARMY; 2,400 =2.400 pts x 10 = 24 points.

Bardulf @ 1 point.

Colgrin @ 1 point.

10 stands of Warrior Infantry @ 2 points = 20 points.

2 stands of Light Archers @ 1 point = 2 points.

After  another hard fight, the Saxons are forced once again to retreat. Arthur issues the same instruction; No pursuit.


Continuing the retreat, Bardulf and Colgrin know that their warriors are close to collapse. The morale of the Briton Army is high and Arthur has their complete loyalty.

The last stand for the  Saxons takes place on the River Wharfe just north of Calcaria. Those that are left lock shields knowing that this could be their last battle. Away to the south is the ruined town that had been the first to be ravaged by the Seaxon army some weeks previous.

As before, Arthur's army appears from the west and advances toward the Saxon position. The cavalry ford the river Wharfe on either flank. As they engage the Seaxons, Arthur's infantry enter the fray.

BATTLE OF THE RIVER WHARFE, GWYNEDD JUNE 486 AD, ( 4th battle).


THE BRITON ARMY; 2,500 = 2.500 pts x 10 = 25 points.

400 Veteran Infantry = 0.400 pts x 10 = 2 stands @ 2 points = 4 points.

90 Light Infantry Archers = 0.090 pts x 10 =1 stand @ 1 point.

250 Elite Cavalry = 0.250 pts x 10 = 1 stand @ 2 points.

150 Regular Light Cavalry = 0.150 pts x10  = 1 stand @ 1 point.

600 Hwicce Infantry= 0.600 x 10 =3 stands @ 2 points = 6 points.

100 Hwicce Light Infantry Archers = 0.100 x 10 = 1 stand @ 1 point..

100 Tribal Light Cavalry = 0.100 x 10 = 1 stand @ 1 point.

300 Gwynedd Militia Infantry = 0.300 x 10 =3 stands @ 1 point = 3 points.

Arthur  @ 3 points.

Owain @1 point.

Cadwy @ 1 point.

Rogatainus @ 1 point.

THE SAXON ARMY; 1,800 = 1.800 pts x10 = 18 POINTS.

Bardulf @ 1 point.

Colgrin @ 1 point.

2 stands of Light Infantry Archers @ 1 point = 2 points.

7 stands of Warrior Infantry @ 2 points = 14 points.


This battle was the death knell of the Saxon army. Some gather to fight to the last, others collapse and cannot put up any resistance. Only a few make it back to Eboricum and into Linnius ( Lindsey). Arthur's victory is complete.


As he rides amongst his men,they clash their weapons and hail Arthur as " Imperator".


Historical Note:

Nennius tells us that Arthur fought a battle at the river Dubglas in the region of Linnius. many modern authors have interpreted this as the river Douglas and Linnius as the area of Lindsey north of the Humber estuary and east of the river Ouse.

While looking into this I read that 'DUBGLAS' means ' dark water '. Dark water is caused by minerals or extreme vegetation in a river. the Romans did a lot of mining in the Pennines and some of the area was heavily forested. which may well have turned some of the rivers dark.

It is roughly 84 miles between the river Douglas and Lindsey so why would Nennius mention the two places and one battle?. There are a number of rivers running roughly from north-west to south-east through the Pennines [ see main map above ].

 A Roman road [ number 712 on the Margary listing. ] runs along the route. My thinking is that the Saxons would have followed this in their retreat.

Is there a possibility Nennius made a slight mistake?Could he have meant ' The Dark Waters ' as many rivers rather than just one?.  If so, then , the description makes sense.

 Arthur fought a " running battle " against the Saxons across a number of river valleys  which eventually pushed them back across the Ouse into Linnius [ Lindsey ].

According to Google, it takes approximately 24 hours to walk from the river Douglas to York [ Eboricum ] so, splitting that 24 hours into 6 hour segments you could have a four day running battle.

I realise my methodology could be flawed, but, I hope my depiction of the situation sounds plausable.

Also, if the river TRENT and the OUSE marked the frontline or border of a reduced ROMANO-BRITISH Province as some historians have suggested, and Arthur,s battles were defensive in nature, then there is good reason for Arthur to be campaigning in the area.

This is battles 2,3,4 and 5 of Arthurs story.

CREDITS;

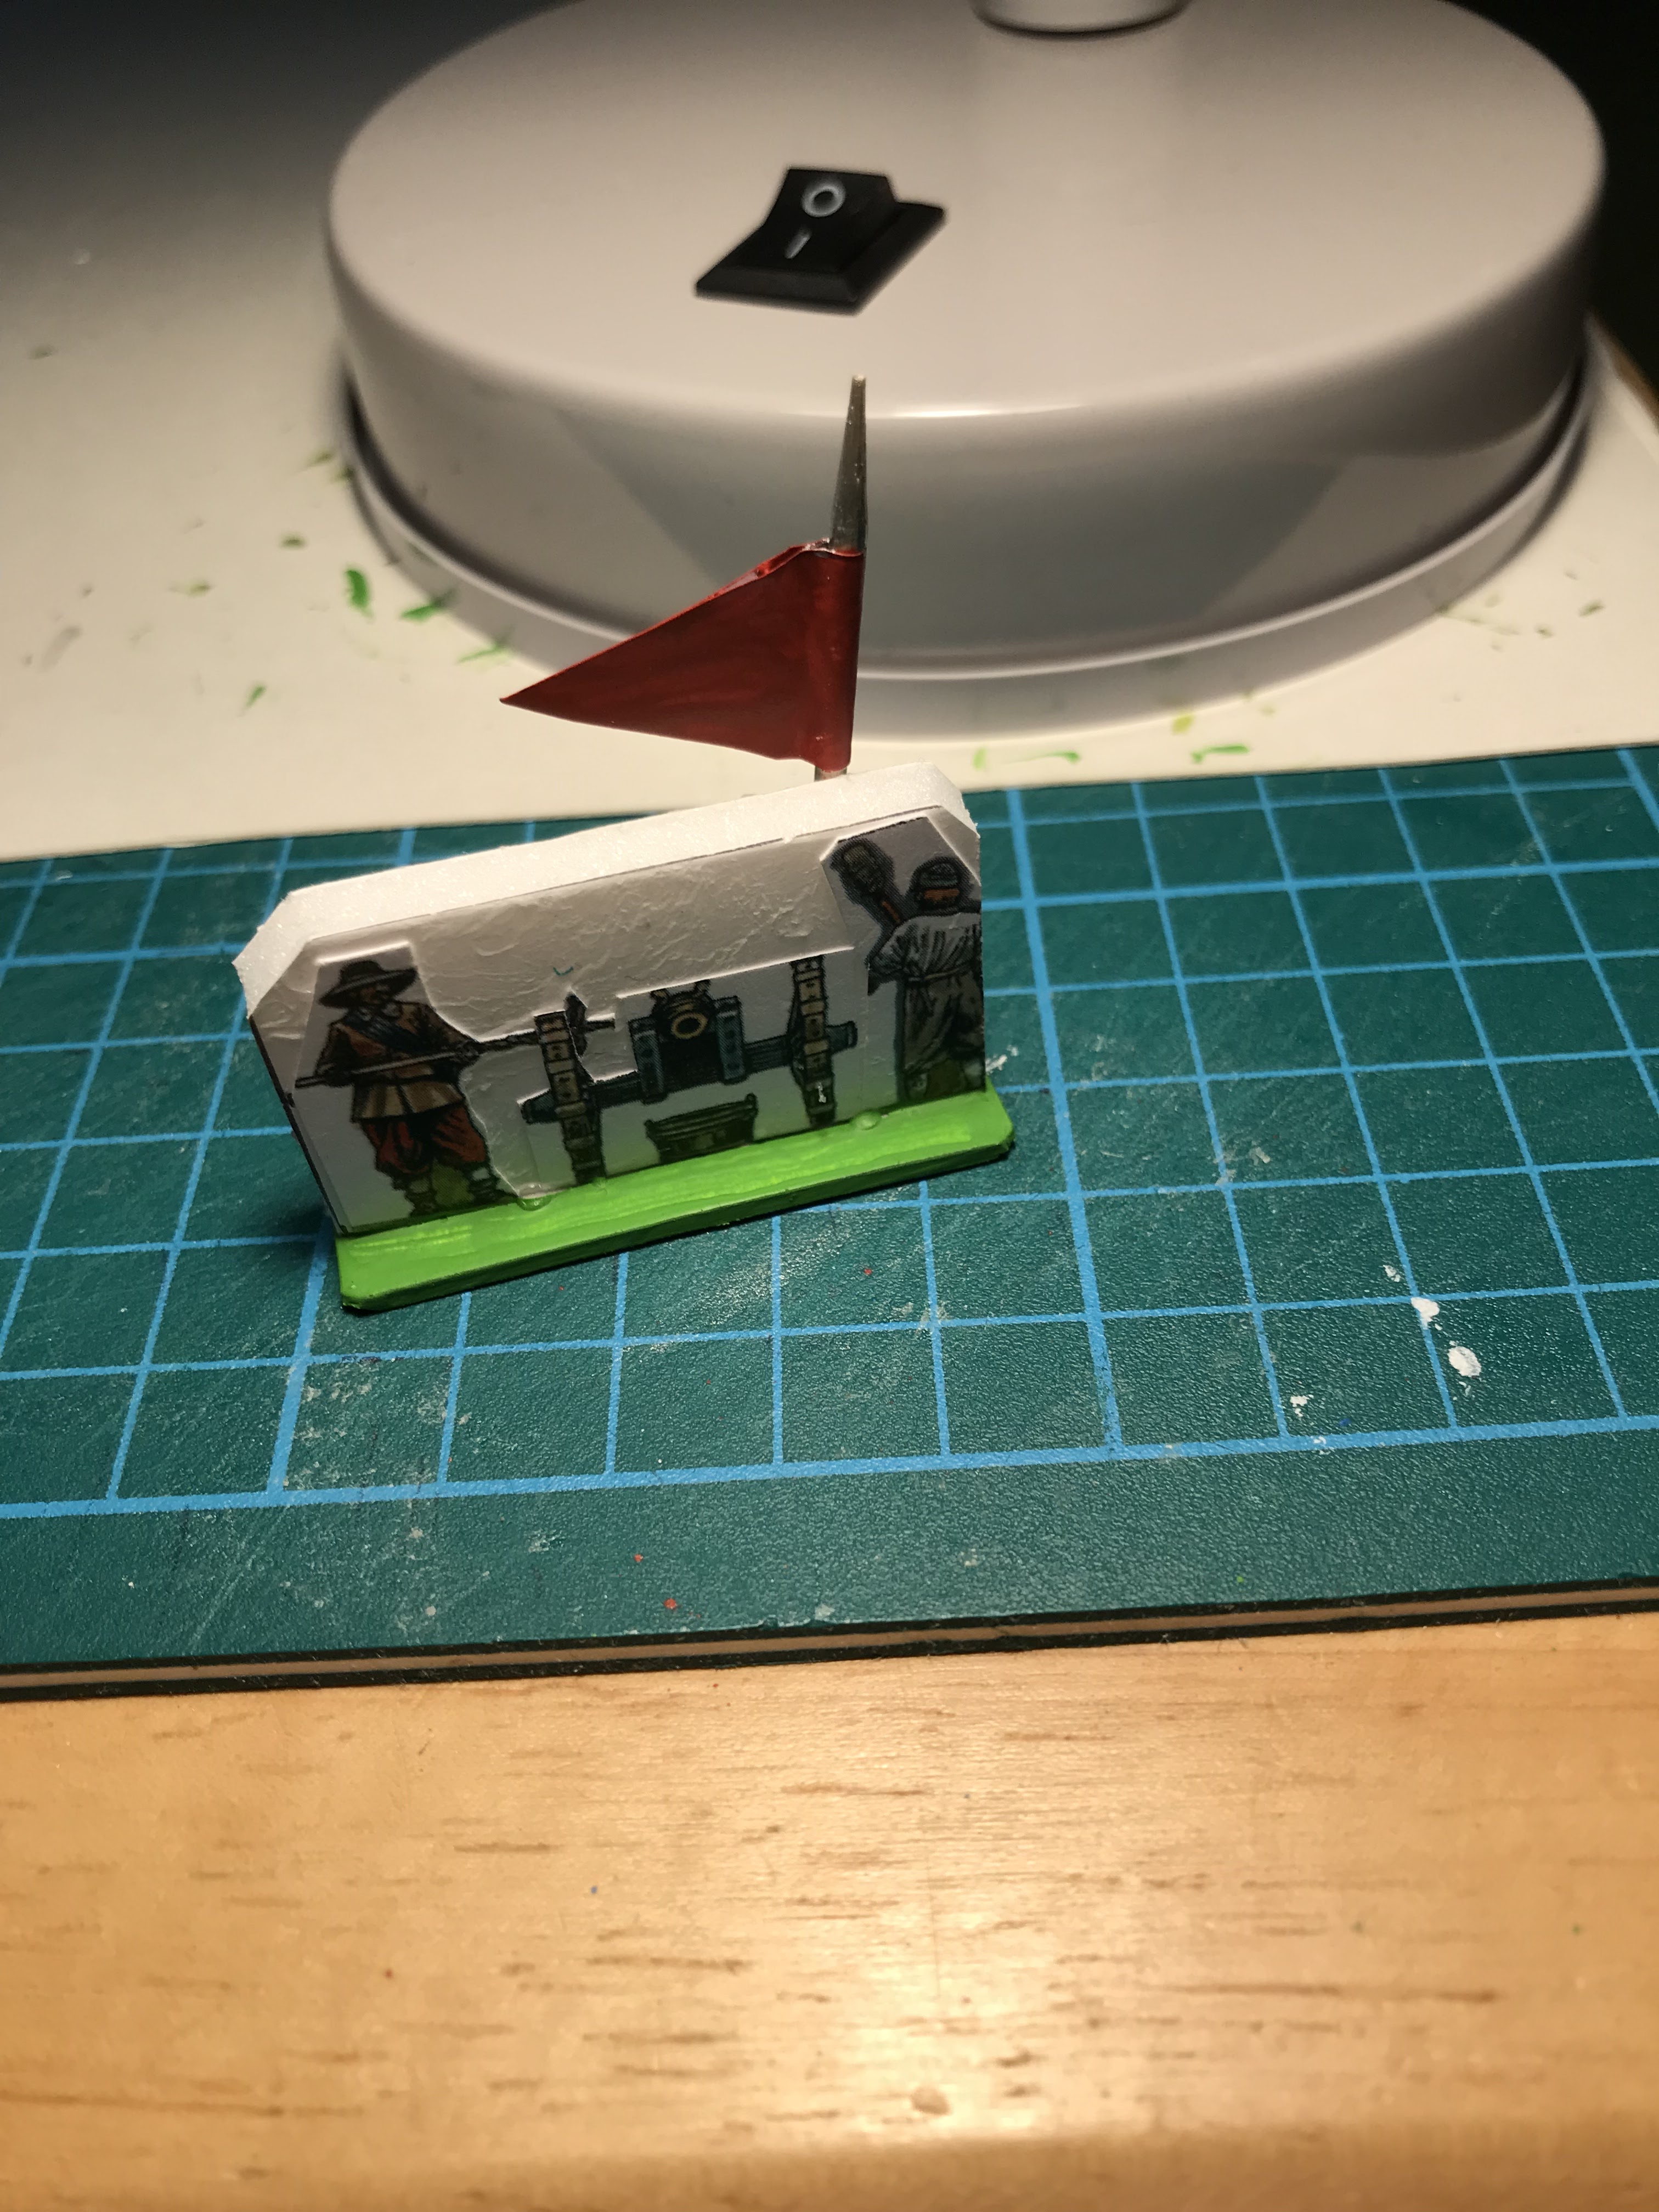
The figures are mostly from Hat Industries 1/72nd range [ ' The GOTHS' and ROMAN MEDIUM INFANTRY.  Also ROMAN LIGHT CAVALRY ]. Some of the figures are Newline Designs metal 20mm figures.

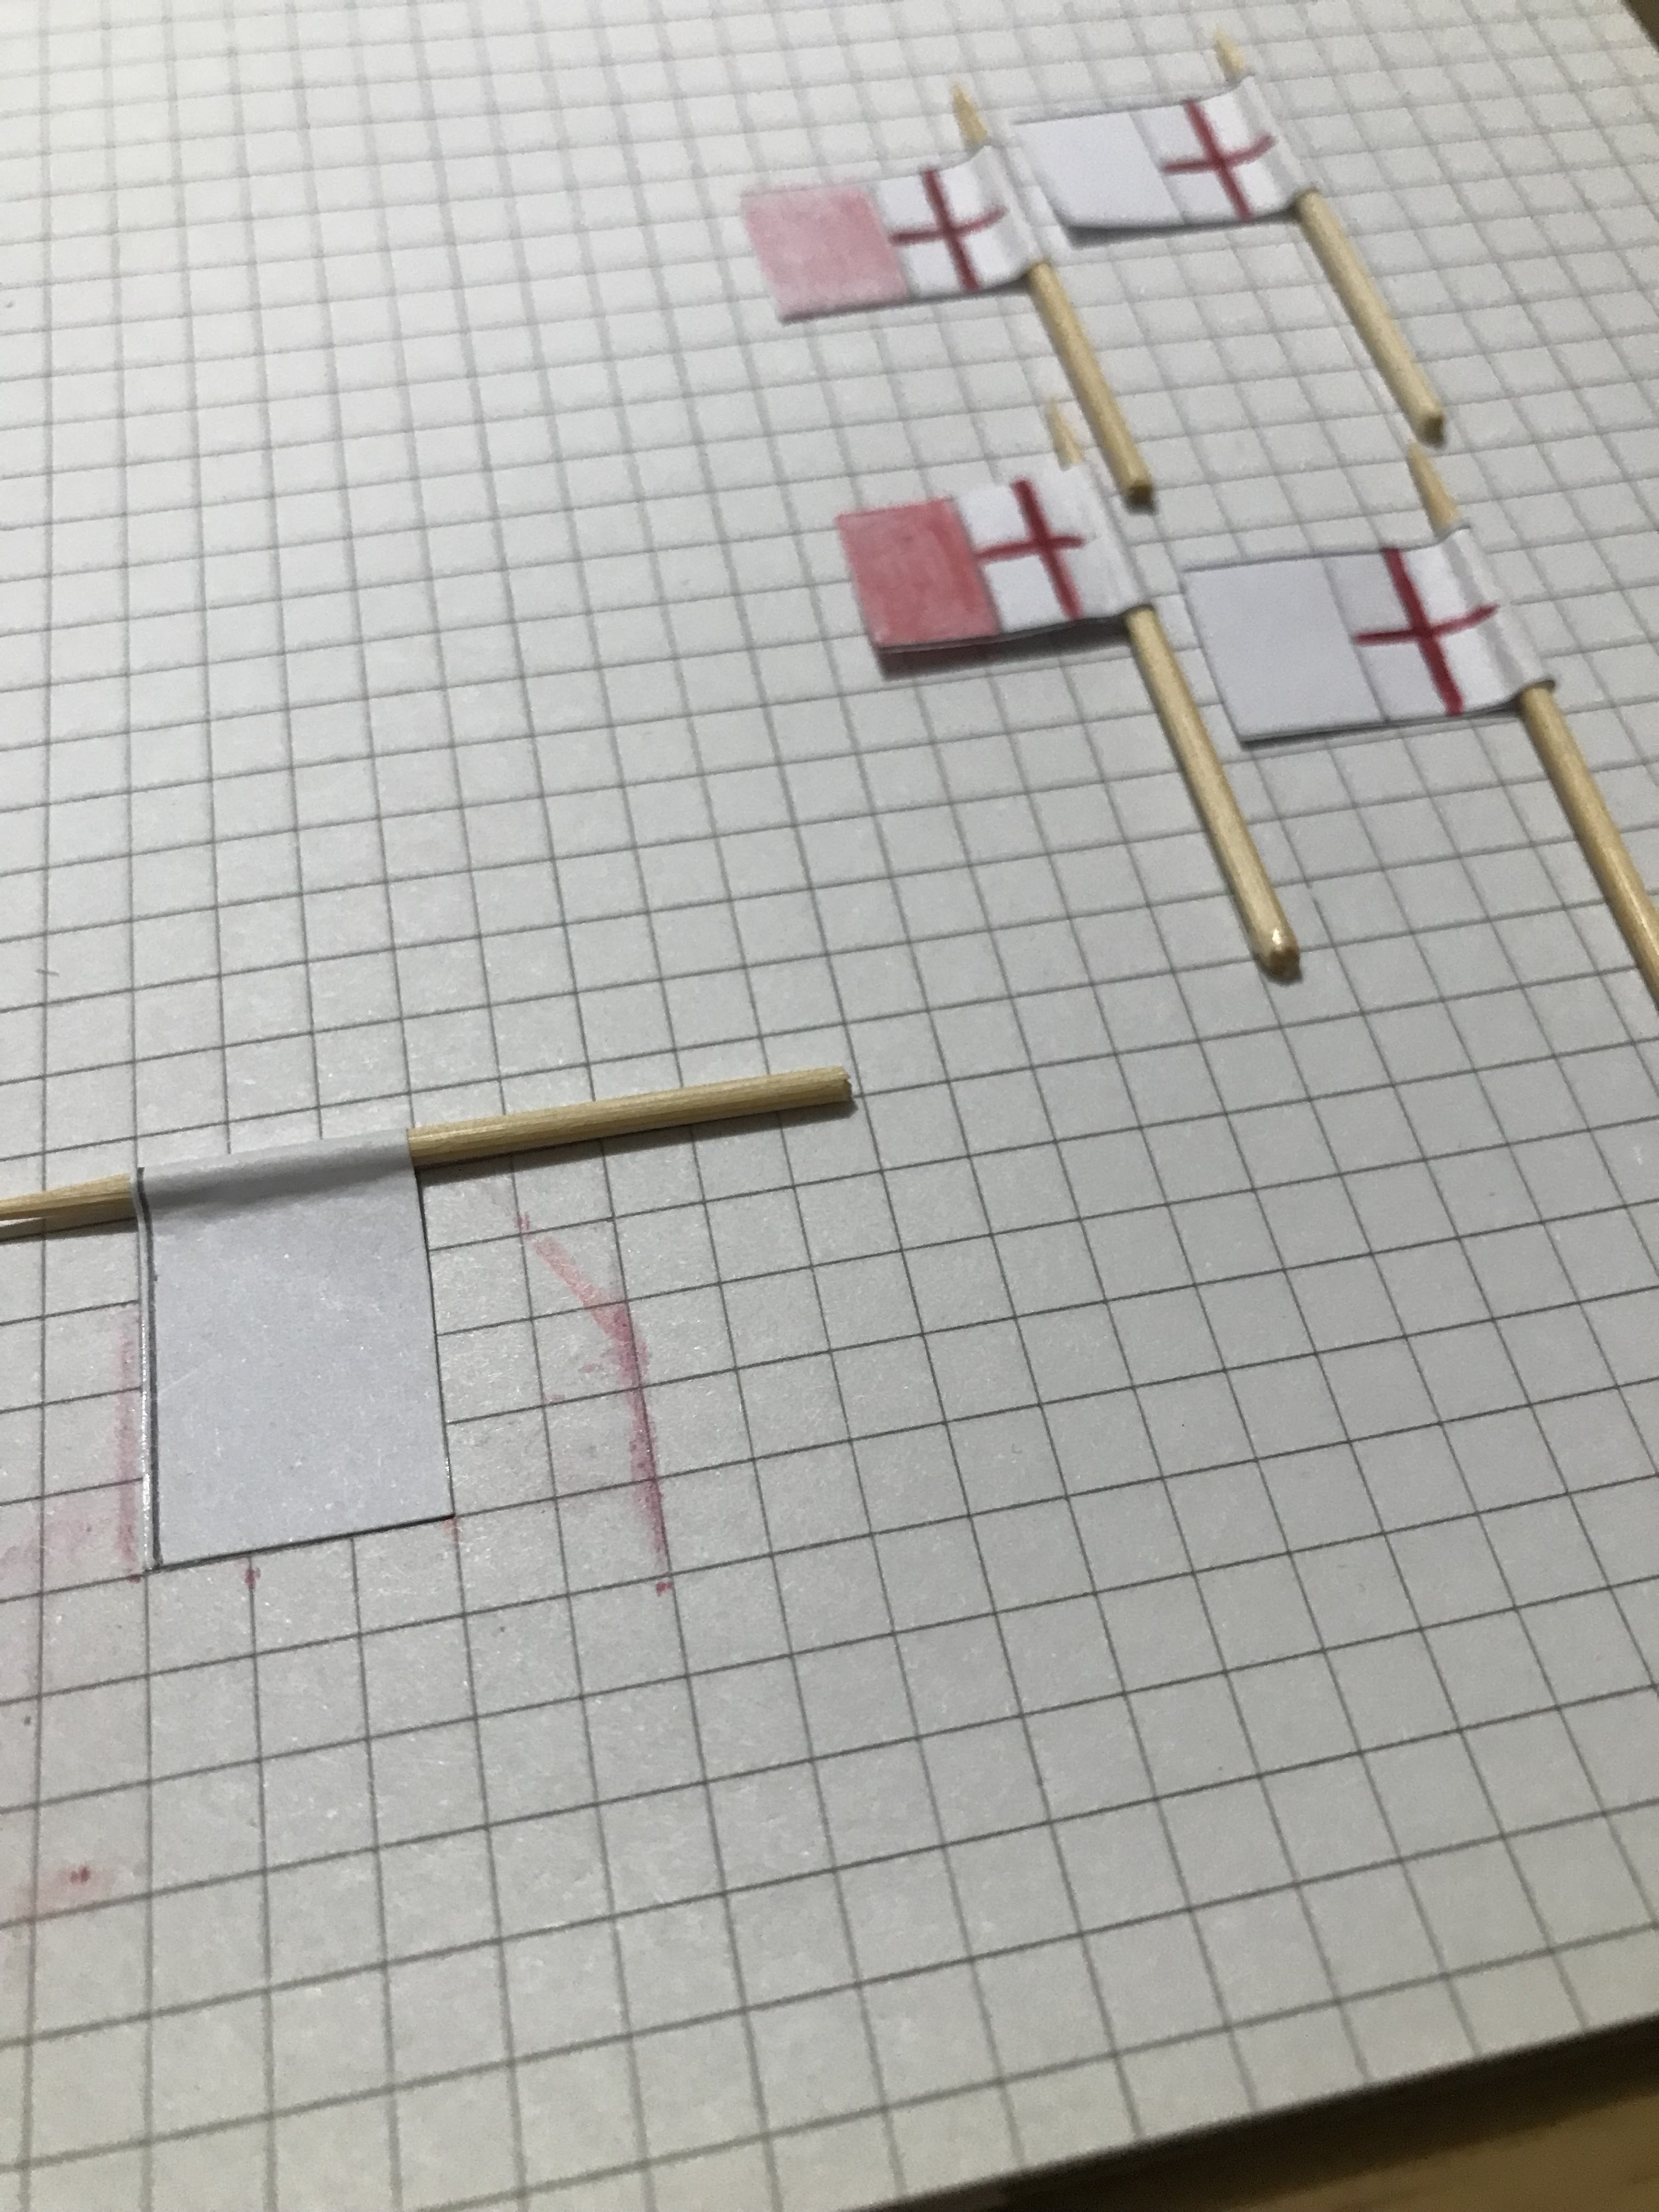
Nearly all the standards are painted by myself as are the shields. Arthur,s main flag and standard are from transfers from Little Big Man Studios. The flag poles are made from the Spear and Javelin sets sold by Northstar Miniatures as are some of the weapons.

The shields on Arthurs infantry are from Magister Militum [ 10mm round shields ]

The waggons are scratch built and the oxen are from Caesar Miniatures Roman Train. The waggon loads are by Bauda.

Refighting the Battles;

  The numbers I thought might be available to Arthur is my own estimation bearing in mind that Arthur was not a native Royal or related directly to any major family group.His position as almost that of a Foederati Roman General. 

I used current immigration records to try and work out how many Jutes, Angles and Saxons might have crossed the channel and from that, how many warriors might have been available for military service. Slightly unethical I know but I used these numbers in conjunction with the information from Illka Sylvannes book about Arthur.

For the wargamer, this series of battles could be turned into a mini campaign.

The first battle could be played with all the figures available to the players. The next battles are played with the surviving figures of the previous battles.

Terrain;

The hill are a mixture of pre-made by Brian of Essex Miniatures and sections of garden kneeling pads purchased from Wilkinson,s. some of the woodland marker bases were made by S and A scenics. The trees are made by various manufacturers. the river and road were cut from thin cardboard. The bridge is scratchbuilt.

Arthurs fight is far from over, as more Seaxons are arriving on the east coast of Brittania. There is also also renewed raiding from the Dal and the Picts.


Saturday, 23 October 2021

Battle of Dranesville; Fairfax County, December 20th 1861.

The details in this blog are my personal interpretation of  historical events. any mistakes are my own. Most of the detail I gained from Wikipedia. I had to do a bit of digging on the net for the regiments that were present but I cannot guarantee the accuracy of the list I have presented.
 
 This action was preceded by a reconnaissance and foraging operation from Centreville moving north, led by the Confederate General J. E. B. Stuart. At about the same time, General Ord of the Union army was moving his Corps east, along the south bank of the Potomac River to clear any Confederate forces from Loudon and Fairfax County.

Ord left half his Union force [ 5,000 ] at Colvin Run Mill so that he would not be outflanked. Neither force was aware of the other until both forces reached the area  south east of Dranesville. General Ords force, having driven off some Confederate cavalry piquets, was just resuming the march eastward when Jeb Stuarts force was encountered coming from the south.


UNION ARMY, 5,000 = 5 pts x 5 = 25 pts.

1 General and C-in-C [ Edward Otho Cresp Ord ] @ 1 point.
1 General [Lt Colonel Thomas Kane ] @ 1 point.


13th Pennsylvania Infantry = 2 stands of 2nd class Line Inf @ 2 pts = 4 pts.
6th Pennsylvania Infantry = 2 stands of 2nd class Line Inf @ 2 pts = 4 pts.
10th Pennsylvania Infantry = 2 stands of 2nd class Line Inf @ 2pts = 4 pts.
12th Pennsylvania Infantry = 2 stands of 2nd class Line Inf @ 2pts = 4 pts.
9th Pennsylvania Infantry = 2 stands of 2nd class Line Inf @ 2pts = 4 pts.
The Rearguard Infantry = 1 stand of 3rd class Skirmish Infantry @ 1 point.

1st Pennsylvania Cavalry = 1 stand of 3rd class Cavalry @ 1 point.
Battery A,  Hezekiah Easton. = 1 stand of Light Artillery @ 1 point.

CONFEDERATE ARMY, 3,800 = 3.8 pts x 5 = 19 pts.

1 General [ James Ewell Brown Stuart ] @ 1 point.

11th Virginia Infantry = 3 stands of 3rd class Line Inf @ 1 point = 3 pts.
1st Kentucky Infantry = 2 stands of 2nd class Line Inf @ 2 pts = 4 pts.
10th Alabama Infantry = 2 stands of 2nd class Line Inf @ 2 pts = 4 pts.
6th South Carolina Infantry = 2 stands of 2nd class Line Inf @ 2pts = 4pts.

1st Carolina Cavalry Company = 1 stand of Cavalry @ 1 point.
Company C, 2nd Virginia Cavalry = 1 stand of Cavalry @ 1 point.

Georgia Battery, Sumter Flying Artillery = 1 stand of Light Artillery @ 1 point.

Here are the opposing armies ready for battle;


Notes;

 * You may wish to supply Dismount Markers for the Cavalry. If so, they have no points value, a basic die is rolled for the stand when firing or in combat.

* With regard to the Light Artillery, I dont know if these Batteries had the equipment to be true Horse Artillery given supply problems of the armies in the west. Therefore these guns can only move two squares in any direction.

* You can use the "Regimental" style movement I set out in a previous American Civil War blog or, if desired move the stands individually as normal. I have read that formations suffered from a lack of senior Officers which led to confusion within and between friendly units during a battle. More often it was down to the individual bravery of soldiers on both sides that would lead to the success or failure in battle.


The battle;

* The Confederates move first and fire first on the first Game-Turn.

* From Game-Turn 2 until Game-Turn 8, both sides will throw a die to determine who gets the Initiative Point for that Game-Turn.

* If you play this Game solo it’s best to stick with the basic 2-player Game-Turn sequence.

* As this battle is in the Western Theatre all ranges are for smoothbore weapons. Again I am basing this assumption on supply problems.

* The winner after eight Game-Turns, will be the side that suffers the lower casualties. Once both sides discovered each other, neither side was prepared to back down, although the Confederates did so after their waggons were safely away.


* If the Confederates loose the higher number of stands they can force a draw if they can get a waggon into Dranesville and back to the Confederate base line by the end of Game-Turn 8.

* As you can see in the battle set-up picture above, the waggons are off the road. The waggons can start their move from the first two squares at the Confederate base edge. The waggons cannot move through wooded areas.

CREDITS;

The figures are a mix of mostly Miniature Figurines and Peter Pig with some Essex Miniatures. The waggons are Peter Pig.

The buildings are Peter Pig. The hills were made by Brian at Essex Miniatures. Two are home made.  Most of the wood 0utline bases are from S and A Scenics. The trees are from various manufacturers. The roads are made from thin cardboard.


The square figure stands are made from picture framing cardboard. The round mdf command stands are made by Minibits.