Sunday 3 July 2022

Battle of Edgehill October 23rd 1642.

This article is my interpretation of this battle. Any mistakes are my own.

In the five years prior to the battle, political and confessional confrontation had been building between the Monarchy and Parliament. Having already lost the Bishops War with Scotland, Charles 1st became increasingly frustrated by Parliament constantly bringing in Laws to curtail Monarchical power

Charles 1st believed in the Divine Right of Kings, and with that in mind he decided to exercise that right. On the 4th of January 1642, Charles marched into the House of Commons with a company of armed Infantry. He had a warrant for the arrest of five M.P,s.

These men knew of the impending intervention, and had managed to slip away. In the five days after this event the citizens of London became hostile to the King. Charles left the Capital and made his way to York where he set up his Headquarters.

In the next nine months both sides collected supporters and troops. Parliament had a head start by securing the Trained Bands of London and the Arsenal at the City of Hull. Portsmouth had also been seized giving Parliament control of the Navy. Meanwhile, Charles had sent his Wife, the Queen Henrietta to France to raise troops and weapons.

All these actions culminated in two armies facing each other at Edgehill----------

The Battle;

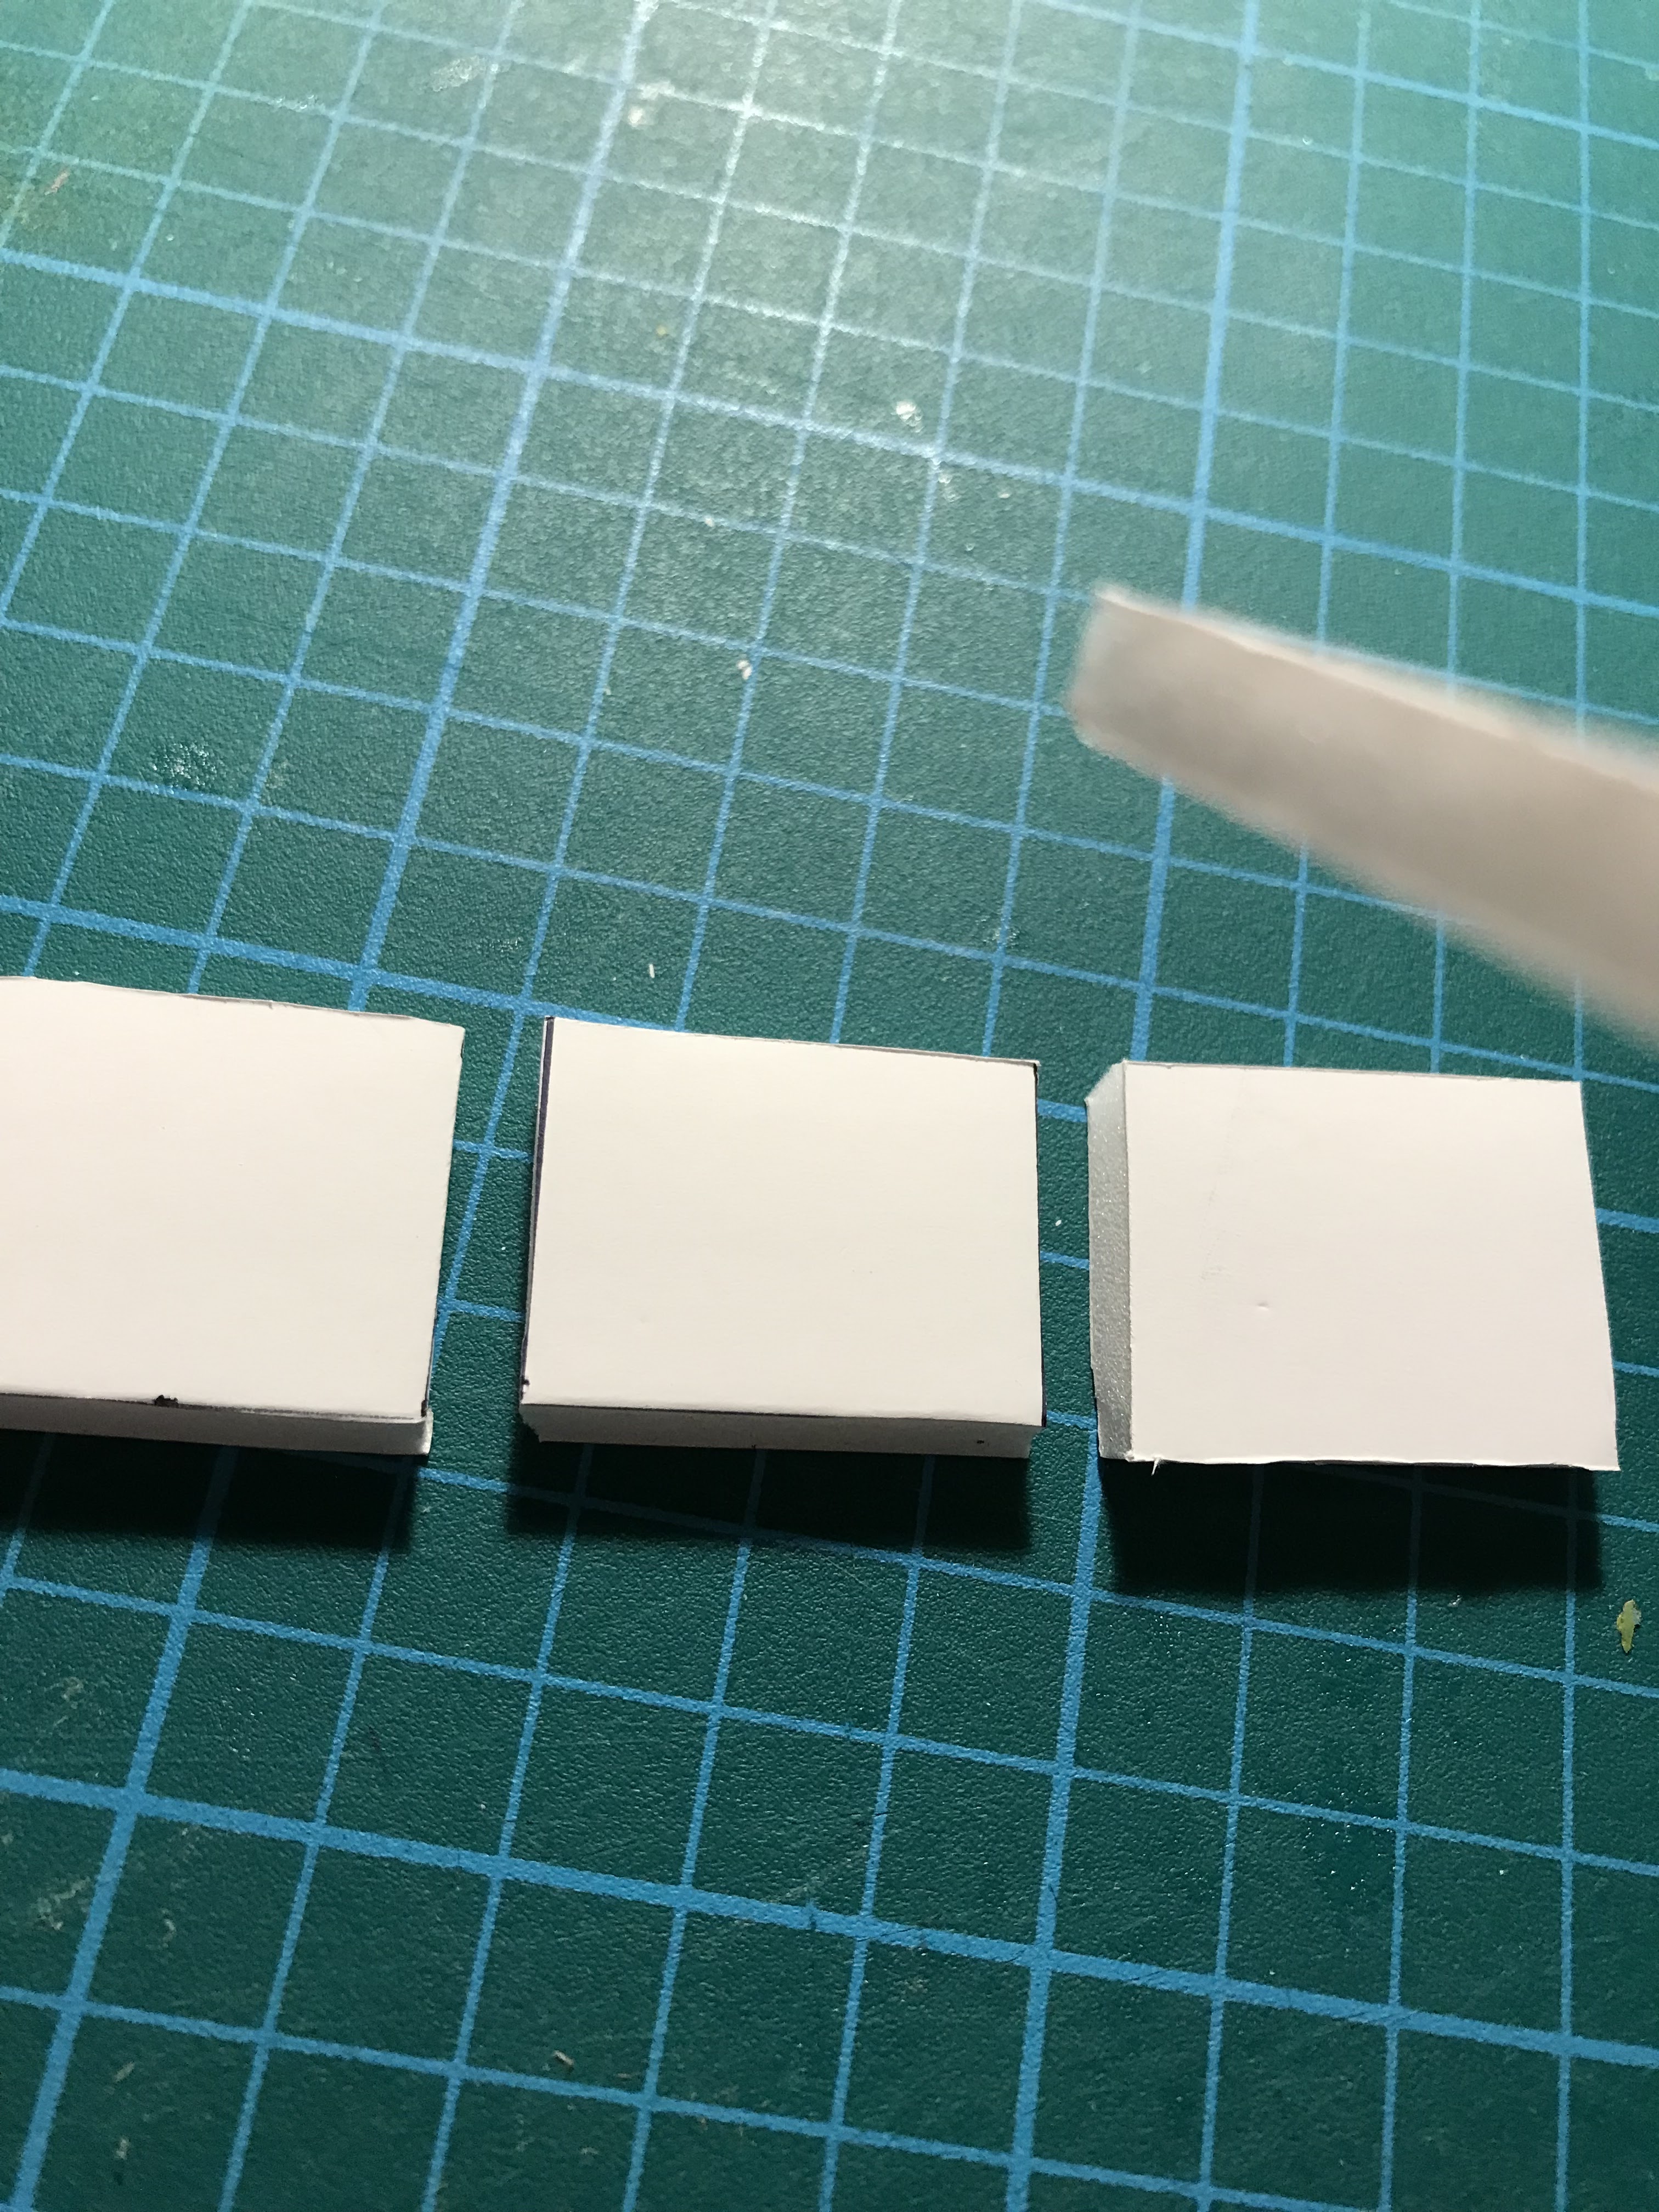
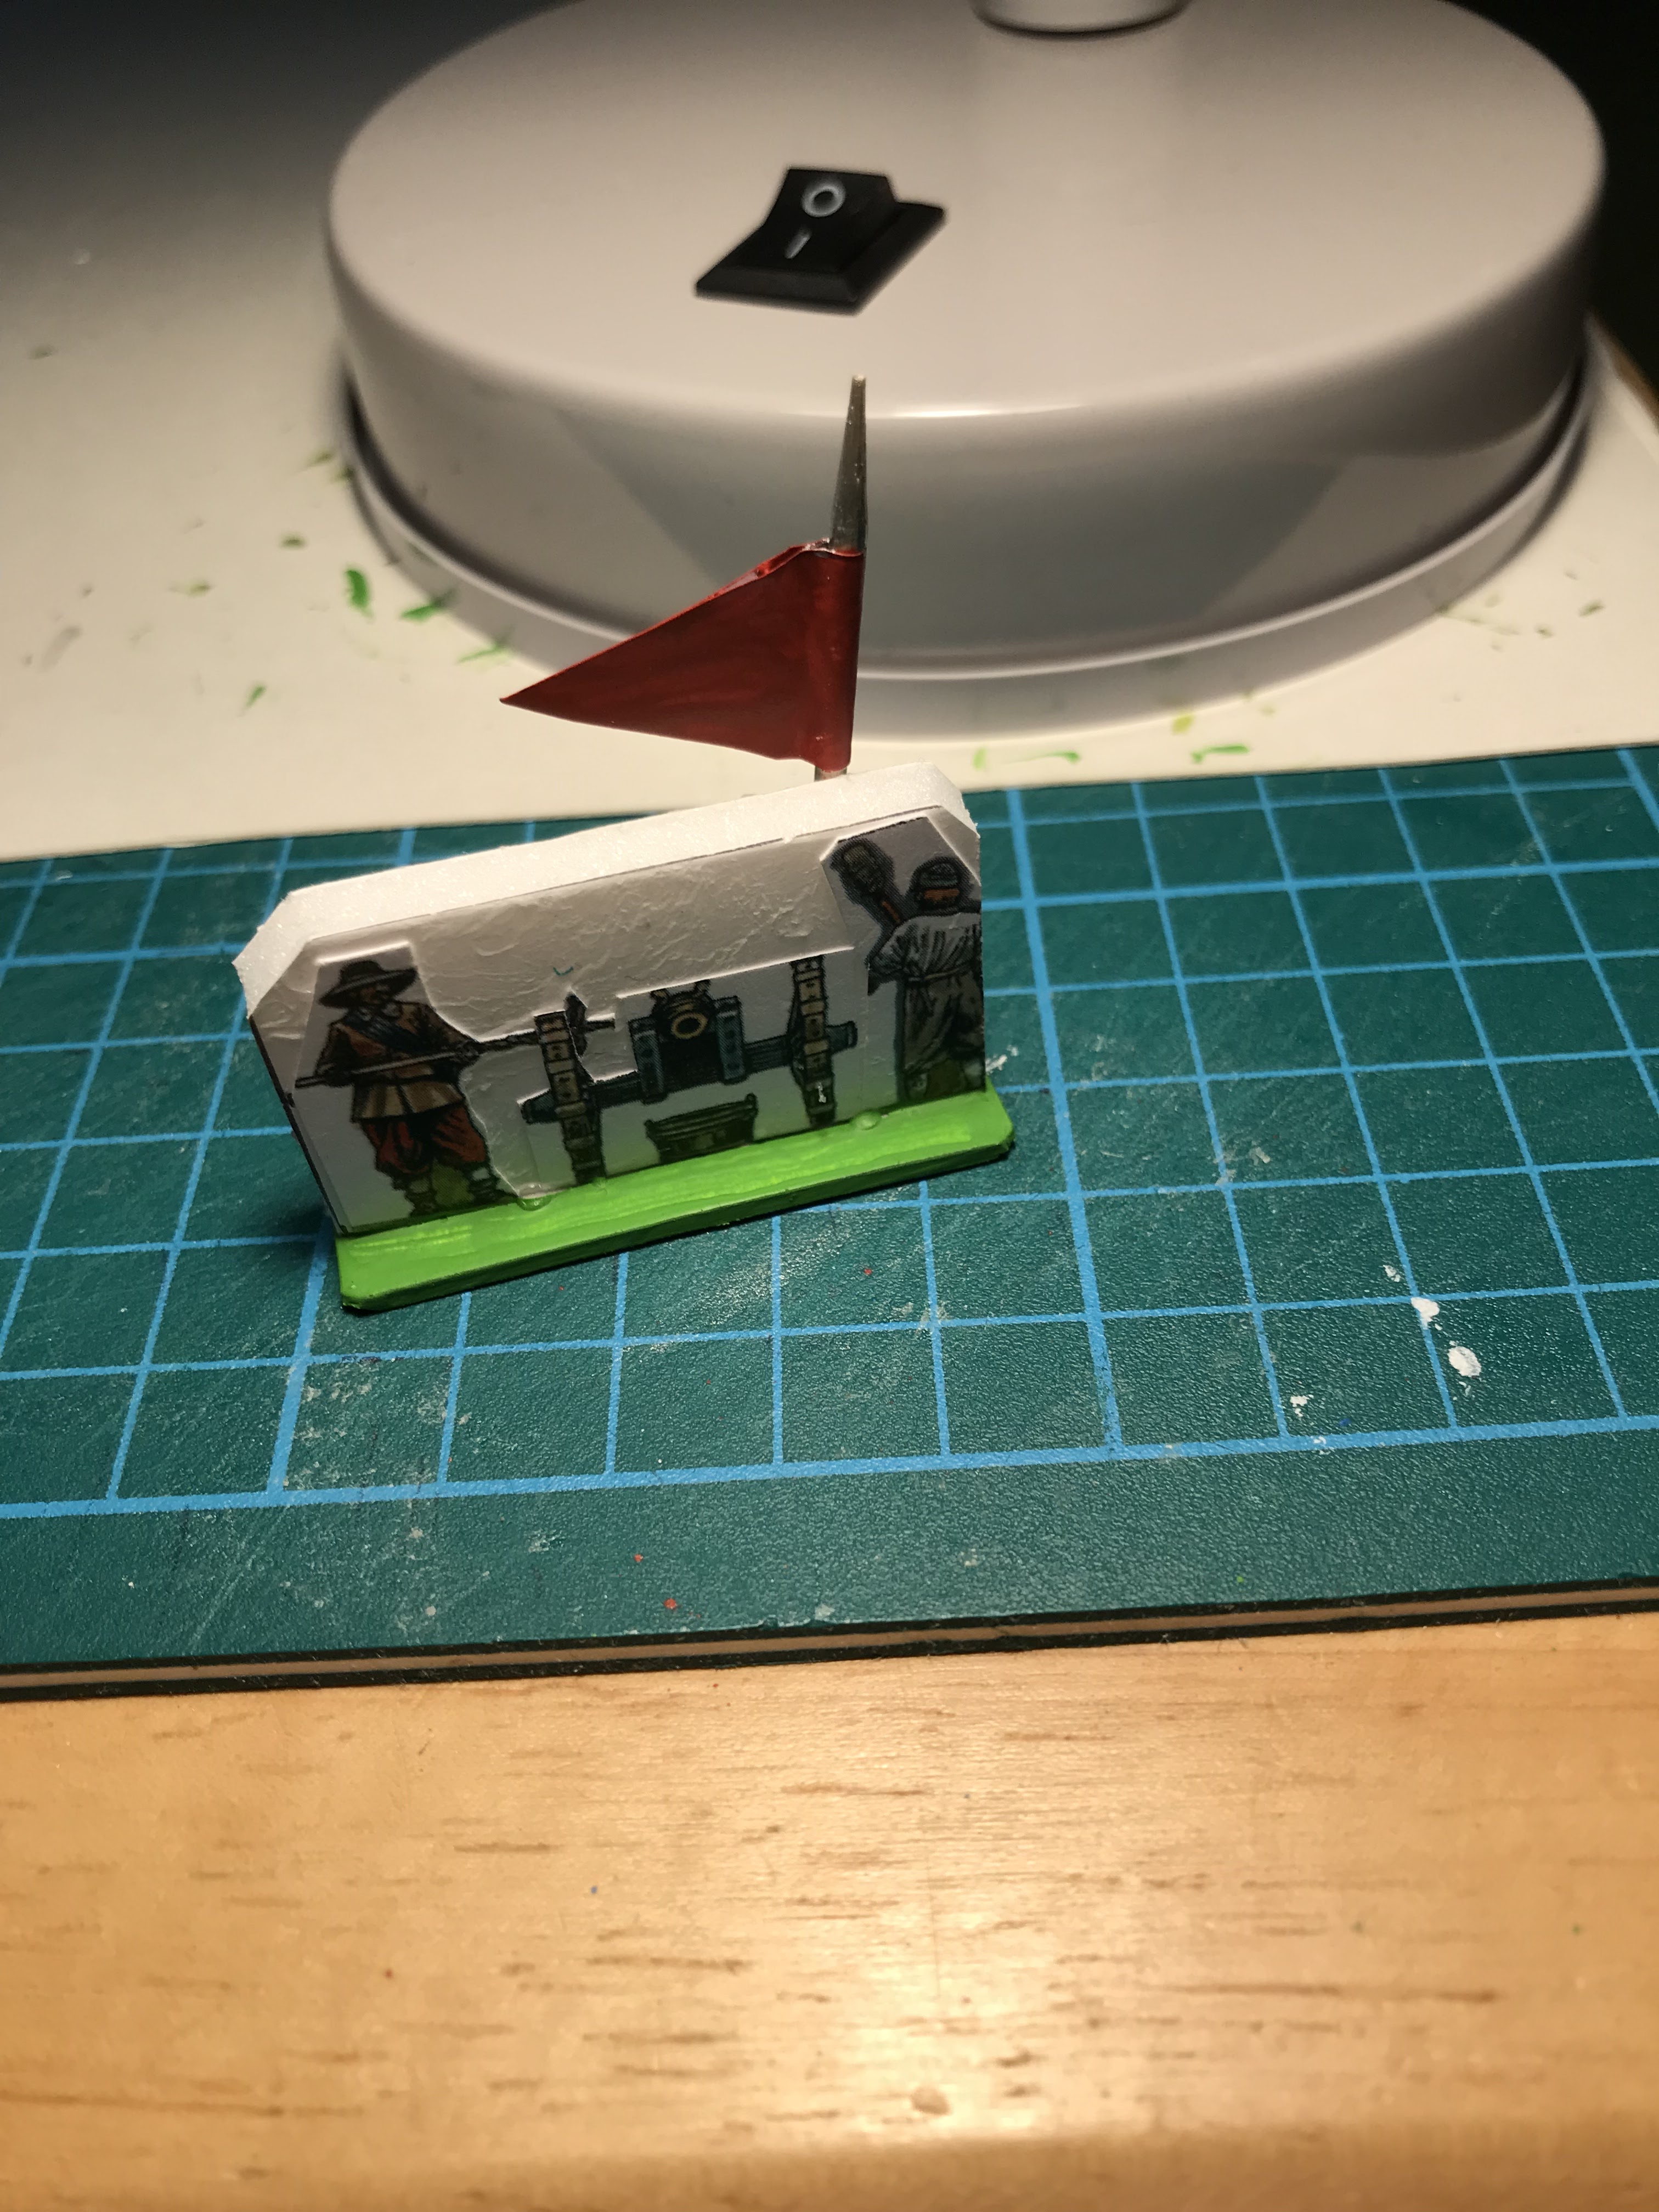
My previous Blog detailed the assembly of the Paperboy paper figures of Peter Dennis to foamboard blocks. It is these figures I am using in this reconstruction.

Optional Rule;

Normally, under the TABLE TOP BATTLES rule system, only one stand is allowed in a square. Using the blocks, TWO INFANTRY OR ONE INFANTRY AND ONE GENERAL,   OR, ONE CAVALRY AND ONE GENERAL stand are allowed within a square. Cavalry and Artillery remain at one per square.


Only the front INFANTRY stand can fire or fight in combat. However, if there is a Pike block in the same square behind the front Infantry, the Pike can also be included in the Combat.

*If a " moveback " is required after Firing or Combat, both stands must be moved back. The rear Stand still counts as " Support ".

THE ROYALIST ARMY;  15,000 = 15 points x 4 = 60 pts.

11,000 Infantry = 11 points x 4 = 44 pts.

22 points of Pike = 7 stands @ 3pts + General Wilmot @ 1 point.

22 points of Muskets = 11 stands @ 2 points.

3,000 Cavalry = 3pts x 4 =12 points.

5 stands of Cavalry @ 2 points + King Charles @ 1 point + Prince Rupert @ 1 point.

1,000 Dragoons = 1 point x 4 = 4 points.

3 stands of Dragoons @1 point + Lord Byron @ 1 point.

THE ARTILLERY;

20 Guns each with 12 gunners = 240 men. = 0.240 x 4 = 0.960 r/u = 1 point = 1 gun model.


THE PARLIAMENTARIAN ARMY.; 15,000 = 15 points x 4 = 60 points.

12,000 Infantry = 12 points x 4 = 48 points;

21 points of Pike = 7 stands @ 3 points.

27 points of Muskets = 12 stands @ 2 points +Earl of Essex @ 1pt + Sir John Meldrum @ 1 point + Sir William Balfour.@ 1 point.

2,000 Cavalry = 2 points x 4 = 8 points;

4 stands of Cavalry @ 1 point.

2 stands of Regular Cavalry @ 2 points

1,000 Dragoons = 1 point x 4 = 4 points.

3 stands of Dragoons @ 1 point + Sir James Ramsey @ 1 point.

ARTILLERY;

30 Guns each with 12 gunners = 360 men = 0.360 pts x 4 = 1.440pts r/d = 1 point = 1 Gun model.


Historical Notes;

* The Royalist Army was initially positioned on Edgehill. When the Parliamentary Army under Essex maintained its position near Kineton the King ordered the advance downhill onto flatter ground. Therefore, the Royalists move first on the first Game-Turn. Game-Turns two to eight will be diced for as per normal.

* The Royalists keep the Initiative Point for the entire battle.

* The Artillery cannot move from their respective positions. In the battle, the Artillery had little effect.

* If any stand retreats up Edgehill it is lost from play.


* I’ve included the roads for completion. In this scenario the roads do not give the plus one move advantage.

* In the battle the Cavalry of both sides fought their own battle. Therefore, Cavalry cannot attack Infantry and vice versa.

* If the King is killed or captured, the battle immediately finishes as a win for Parliament. If a Parliamentary Cavalry or Dragoon stand attacks the King and forces a “ move-back”, the King is captured! ( The Kings Life Guard had gone off to fight in the front rank on the right, so the King only had a small group of Courtiers with him. A troop of Parliamentary Cavalry attacked the Kings party during the battle, and managed to grab the Royal Standard. However Sir Edmund Verny cut off the hand of the Parliamentary assailant during the defence of the King and regained the Standard,! ).

CREDITS:

* As previously stated, I used photo copied illustrations from Peter Dennis’s book of the English Civil War ( currently available from www.helion.co.uk ).

* The hills were made from Foamboard. The trees were photocopied from the book and glued to Foamboard. The white areas on the tree illustrations were painted with Powder Blue paint from Miniature Paints.

* The hedgerow sections are made from pieces of pan scrubber glued to thick cardboard.

* The waggons were made from cocktail sticks and cardboard with buttons as wheels.


* The village models were made from Foamboard and cardboard. Sections of photocopied buildings from the book were glued to the Foamboard and painted in places with Miniature Paints Olive Green.


* I’ve included some photos of the battle which I played Solo. As a slight change, I played this battle on a dining table, on a 3 foot x 2 foot ( 90cm x 60cm ) piece of felt cloth with a 2 inch square grid drawn onto it.


Sunday 12 June 2022

The Paperboys of Peter Dennis and the English Civil War.

 Some years ago my Wargaming activities involved the 17th century. Both the Thirty years War and the English Civil War occupied the time of myself and my mates. The European theatre we gamed with 25mm figures, however the English War was the main event.

Having sold my 25mm figures ( fiscal paucity was a constant back then), I bought a load of 6mm figures. The Matchlock rules came from using them.


A mate of mine came up with a campaign with three of us as Royalists and three as the Roundheads. The large battles were fought with the 6mm figures and the skirmishes with the 25mm stuff. Well, I was Charles 1st and even though we just played it as a campaign, well, you know what happened to me!

Anyway, I digress. Roll on 34 years and once again, I feel drawn back to this conflict. This time though, I didn’t want to collect and paint the figures! I had purchased Peter Dennis’s book on the English Civil War, and it had been on my bookshelf for a while. When published, Peters books drew a bit of negative press, not for the content which is excellent.

No, it was the thought of printing and cutting out all the paper figures, that didn’t appeal to a number of people including myself. Each figure or group of figures has a front and back like the stickers in the Command and Color’s games. That’s when I had this idea. Why not make the blocks out of foam board stuck on cardboard!

I got some pages printed up. ( Peter has given his permission for personal use in the book.) I cut them out and stuck them on blocks. Well it works. So, here’s how

1) The first item is to get your pages printed. I went to a Printers and asked for three copies of all the pages of the figures. I had this done in A5 to reduce the size a bit, on 100gsm paper

2) Material items required ;

       PVA glue

       A Pritt stick ( or any paper glue ).

       A packet of cocktail sticks.

       A packet of  self adhesive labels.

       2 or 3 sheets of A4 Foamboard.5mm thick.

        A length of rubber tubing 4mm x 1mm.

        Some picture framing stiff cardboard.

        Some pots of acrylic paint ( optional) ;

        Blue, Red, Green and Silver.

        A sheet of graph paper.

       A packet of dressmaker pins.

    Note; Most of the above can be obtained from local stores or from Amazon.

TOOLS REQUIRED;

A good crafting knife ( young people should ask a parent ).

A good pair of scissors ( young people should ask a parent ).

A pair of wire cutters. ( otherwise known as “ small side cutters” ) these are for cutting the cocktail sticks and clipping the corners of the bases.

A cutting mat. ( If you can get one of these it saves a lot of measuring).

A pair of tweezers.

3) THE INFANTRY AND DISMOUNTED DRAGOONS.

I cut these blocks first from the Foamboard, 25mm high ( 1 and 1/8th inches ) by 30mm wide ( 1 and 5/16th inches). 36 are required for two armies.


Next, I cut the bases from the picture-framing cardboard. These are 15mm deep (6/8ths )x 40 mm wide ( 1 and 11/16th inches ).

For the DRAGOONS, the bases are 20mm deep (7/8ths of an inch ) and 40 long ( 1 and 11/16ths inches ).

You will notice that I have clipped the corners of the bases. This stops the cardboard from “ fraying “ and makes the cardboard more durable.


Once the blocks and bases were cut, I started on the illustrations. I cut these out less the green bases. This is where you need to keep an eye on the pairs ( back and front.)

Once these were cut, I then used the Pritt stick on the blocks gluing the illustrations. Be aware that once the illustration is laid on It Is On!


Once all the Infantry were glued to the blocks, I glued the blocks to the bases using the PVA glue. You can be a bit generous with the glue because it shrinks and drys clear. It takes a while to dry. Put these to one side.

THE DRESSMAKER PINS;

If your cutting is a bit wonky like mine then this is where the pins come in. If the block won’t stand up straight when using the PVA, put a pin in in the base and push it gently against the block until it’s vertical and leave to set.


THE PIKEMEN;

The Pikemen are stuck to the same size blocks. When they are dry, stick them to the bases as for the Muskets. Once they have dried for the second time, cut 4 cocktail sticks to 40 mm. (1 and 11/16ths )

Glue on the cocktail stick’s by putting some PVA glue on the hand and on the base. Once done leave them to set. The next part was to paint the tips in silver. On the body of the pike,I painted a blob of blue or red paint then a blob of Flesh colour to show a hand.


THE CAVALRY AND MOUNTED DRAGOONS;

The same procedure is followed for the cavalry and Dragoons. The foam blocks are 30mm ( 1 and 1/4 inches ) x 30mm ( 1 and 1/4 inches ). The bases are 15mm deep ( 6/8ths of an inch ) x 40mm wide ( 1 and 11/16th inches ). Again, making sure you have the back and front pairings, use the Pritt stick to glue the illustrations to the blocks. Any overlaps go to the bottom. I trim these up before gluing the blocks to the picture framing cardboard with the PVA glue.

THE DRAGOONS;

Again. These bases are 20mm deep (( 15/16ths) by 40 mm long.(1 and 11/16ths ).


THE ARTILLERY;

These blocks are 25 mm high (  1 and 1/8th inches )by 45mm wide ( 1 and7/8th inches ).The illustrations are a bit tricky because the crew are separate from the cannon so a little more work is required. The bases are 15mm wide ( 6/8ths ) by 45 mm wide ( 1and 7/8th inches).


THE COMMANDERS;

The Commanders are separate along with some standard bearers so, sizes vary according to composition. They are 35mm high ( 1 and 1/2 inches)  and between 30 to 45mm wide ( 1 and a 1/2 inches to 1 and 7/8ths inches ).The bases are 15mm wide ( 6/8ths of an inch ) and up to 45 mm long ( 1 and 7/8ths inches ). Some of the Generals are drawn with two arm positions. Using the craft knife carefully remove one arm.


Once you have assembled the blocks, it’s time to think of flags and about painting——or not, depending how much work you wish to do.


THE FLAGS;
 I cut the cocktail sticks to 50mm. ( 2 and 1/16th of an inch).The flag strips are cut from labels 15mm wide.( 6/8ths).


I used graph paper to line up the crosses on the flag


I drew the crosses onto the flags with a red ballpoint pen. The rest of the flag surface I painted in blue and red. When this had dried, I painted the tips in silver. The Dragoon flags were rounded at the ends to help with identification. The artillery flags I cut like a pennant.


THE FLAG HOLDER:
While the flags are drying, I glued 10mm ( 9/16ths ) pieces of rubber tubing to the back of the stands with the PVA glue.


Once all the stands are dry, they can be painted if required. I used Game Workshops Moot Green, but this is personal choice. I painted one side, of the top surface, let it dry then painted the other side.


The army is now assembled


I have assembled these two armies for my own Table Top Battles ruleset where one stand sits in a square. However, if you like the larger formations ( or larger armies)with the chance to represent line and column the stand sizes will allow for this.

You can also enhance the blocks with a bit of light shading. There are also Infantry and cavalry Command groups included amongst the illustrations allowing Regimental actions.

Peter has done other books on different Eras. These two armies took me two weeks doing an hour/ 2 hours every day. I must admit it was good not having to paint loads of figures ( my time is limited these days ). If this might suit your gaming have a look on www.helion.co.uk and type “Peter Dennis” in the search box.

 Peter has done a number of books on different eras of British history. Now I’ve done the armies, a few battles are in order!

Ps. I’m hoping Peter will create Macedonian Successors, Galatian’s, or even Early Carthaginians and Greeks!