This is my own interpretation of the battle as a wargamer. Any mistakes are my own. The numbers given below for each formation is my own best guess. This battle was also titled Logan's Crossroads.
As the war progressed the Union Administration did not want Kentucky going over to the Confederate Government. Having been repulsed at the Wilderness Road, the Confederate General Felix Zollicoffer moved further West in another attempt to disrupt Union activity.
In late 1861, a Confederate force of 6,000 men and 16 guns was camped at Mill Springs, on the South bank of the Cumberland River. Zollicoffer realised that if he could establish a camp on the north side of the river, he would be better placed to interdict Union activity between Somerset and Lebanon.
Zollicoffer,s force was also part of the Confederate Defense Line which was to prevent Union forces from interrupting rail shipments of supplies from southern and western Virginia.
Zollicoffer managed to gather up some rivercraft enough to transport 5000 men and 12 guns across the Cumberland to Beech Grove, leaving 1,000 men and 4 guns at Mill Springs. Both camps were entrenched.
Having been told of the Confederate movement, Union General George H. Thomas moved his 4,500 troops to Logan,s Crossroads [ modern day Nancy ]. about 10 miles north of the Confederate position. In the meantime Major General George B. Crittenden arrived to take control of Confederate forces.
Crittenden wanted to attack Thomas,s force before it could link up with Union General Albin F. Schoepes Division to attack the Confederate base.
The early hours of January 19th found the Confederate force from Beech Grove marching north in the rain and fog to suprise and attack Thomas,s Union force.
Unfortunately for the Confederates, the Union 10th Indiana Infantry and 1st Kentucky Cavalry, on piquet duty were wide awake!. as battle was joined, elements of Albin Schoepe,s Union formation were force marching to reinforce Thomas,-----

UNION ARMY; 4,500 = 4.5 X 8 =36 points.
( This total includes The reinforcements from Schoepe commanded by McCook ).
1 General, George H. Thomas. @ 1 point.
1 General Robert L. McCook @ 1 point.
12th New York Line Infantry ( 300 ) = 0.300 x 8 = 2 stands @ 1 point = 2 points. (R/d)
2nd Minnesota Line Infantry (500 ) = 0.500 x 8 = 2 stands @ 2 points = 4 points.
9th Ohio Line Infantry (800 ) = 0.800 x 8 = 2 stands @ 3 points = 6 points.
7th Ohio Line Infantry ( 500 ) = 0.500 x 8 = 2 stands @ 2 points = 4 points.
4th New York Line Infantry (500 ) = 0.500 x 8 = 2 stands @ 2 points = 4 points.
2nd Tennessee Line Infantry ( 500) = 0.500 x 8 = 2 stands @ 2 points = 4 points.
7th Tennessee Line Infantry ( 500 ) = 0.500 x 8 = 2 stand @ 2 points = 4 points.
10th Indiana Line Infantry ( 500) = 0.500 x 8 = 4 stands @ 1 point = 4 points.
1st Kentucky Cavalry ( 300 ) = 0.300 x 8 = 2 stands @ 1 point = 2 points.
Whitmores Battery : 8 guns x 30 men = 240 men = 0.240 x 8 = 2pts r/u = 2 stands of Light Artillery @ 1 point = 2points.
CONFEDERATE ARMY; 5,000 = 5pts x 8 = 40 points.
1 General. George B. Crittenden @ 1 point.
1 General. Felix Zollicoffer @ 1 point.
15th Mississippi Line Infantry [ 800 ] = 0.800 pts x 8 = 6 pts [r/d]. 3 stands of Line Inf @ 2 pts.
16th Alabama Line Infantry [ 500] = 0.500 x 8 pts = 4 pts. 2 stands of Line Infantry @ 2 pts.
17th Tennessee Line Infantry [ 500] = 0.500 x 8 pts= 4 points. 2 stands of Line Inf @ 2 pts.
19th Tennessee Line Infantry [ 800 ] = 0.800 pts x 8 = 6 points. 3 stands of Line Inf @ 2 pts.
20th Tennessee Line Infantry [ 500 ] = 0.500 pts x 8 = 4 points. 2 stands of Line Inf @ 2 pts.
25th Tennessee Line Infantry [ 500 ] = 0.500 pts x 8 = 4 points. 2 stands of Line Inf @ 2 pts.
28th Tennessee Line Infantry [ 500 ] = 0.500 pts x 8 = 4 points. 2 stands of Line Inf @ 2 pts.
29th Tennessee Line Infantry [ 500 ] = 0.500 pts x 8 = 4 points. 2 stands of Line Inf @ 2 pts.
Saunders Cavalry Battalion [ 300 ] = 0. 300 pts x 8 = 2 points. 2 stands of Cavalry @ 1 pt.
Bledsoe,s Battery, 12 guns x 30 men = 360 = 0.360 x 8 = 3 points [r/u ] = 1 stand of Heavy Artillery @ 2 points and 1 stand of Light Artillery @ 1 point.
Here is the map;

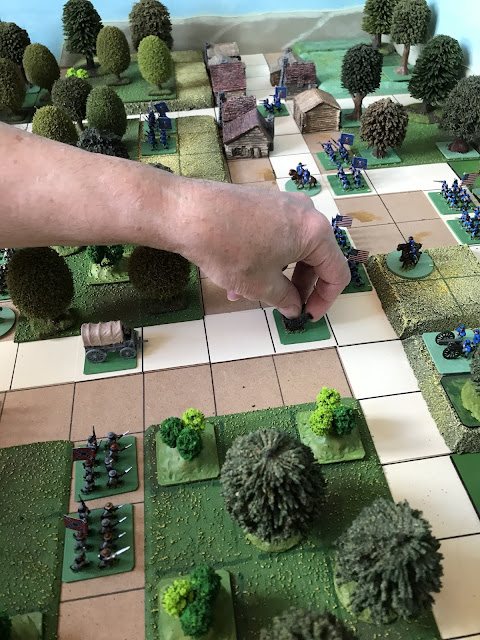
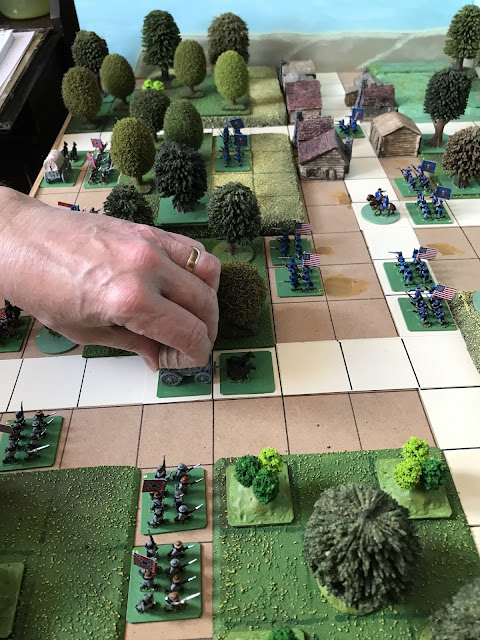
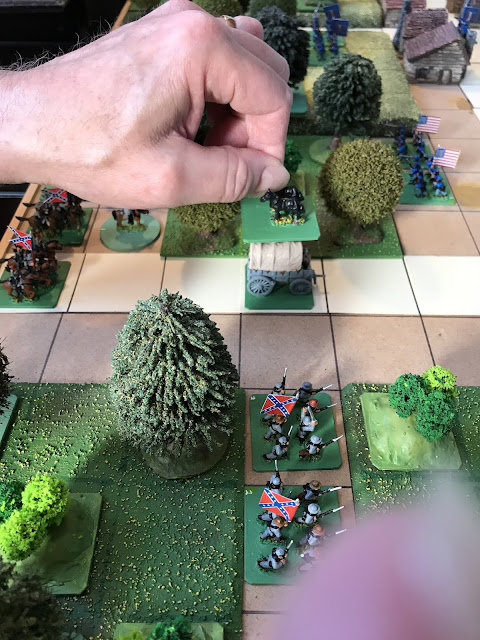
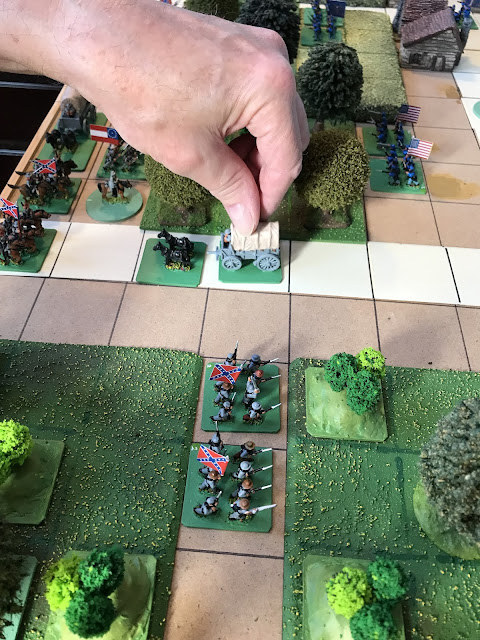
The Battle;
* The Union Army has the Initiative Point for the entire battle.
* The Confederates move first, and fire first on the 1st Game-Turn.
*From Game-Turn 2 until Game-Turn 8, both sides will roll a die to decide who moves and fires first. It also determines which side wins any tied results during the Game-Turn.
Ordered Movement:
This battle was something of a “ meeting” engagement.
For the Confederates, on the First Game-Turn only the 19th and 15th Infantry can move.
On the second Game-Turn, the 17th, 25th, 28, 16th and 20th can move.
On the third Game-Turn, Saunders Cavalry, the Field Guns and the 29th can move.
The Confederate army was strung out on the road which was muddy and it took time for the units to come into action.
Any stands entering the river section cannot fire.

The Generals:
CRITTENDEN,
It has been written that Crittenden wasn’t quite himself at this battle and didn’t have a clear idea of what was happening. Therefore. If a player wishes to move Crittenden, a 6 sided die is rolled. On a roll of a 5 or 6, Crittenden can be moved.
ZOLLICOFFER;
During the battle, Zollicoffer was in the front line. In the bad light he confused a Senior Union Officer as one of his own. As Zollicoffer rode off, another Union Officer saw what was happening and shot General Zollicoffer as he was riding away. Therefore, if Zollicoffer comes within range of a Union stand roll a 6 sided die. If a 5 or 6 is rolled, Zollicoffer is removed.
THE UNION ARMY;
The Union Army cannot move until the 10th Indiana and 1st Kentucky retreat to the snake fence.
The 7th and 9th Ohio with General McCook cannot move until Game-Turn 4. These Regiments were of German Immigrants who were veterans of the wars in Europe.

The Weather;
The weather on the morning of the battle was foggy with rain. This had an adverse effect on the weapons especially amongst the Confederate Infantry. A number of them had old flintlock smoothbore rifles which some of the men were seen smashing against trees in their frustration.
Therefore, 2 points will be deducted from every firing die rolled in the game. this will result in more combats than usual.
FIRING RANGE; All rifle fire will be at two squares range. Field Gun range is four squares.
The hedgerow or"scrub" and the snakefencing do not provide any cover and only hinder movement to artillery and cavalry.
As before in previous scenarios, I don’t know if there was any true horse artillery so all artillery is moved at two squares.

CREDITS;
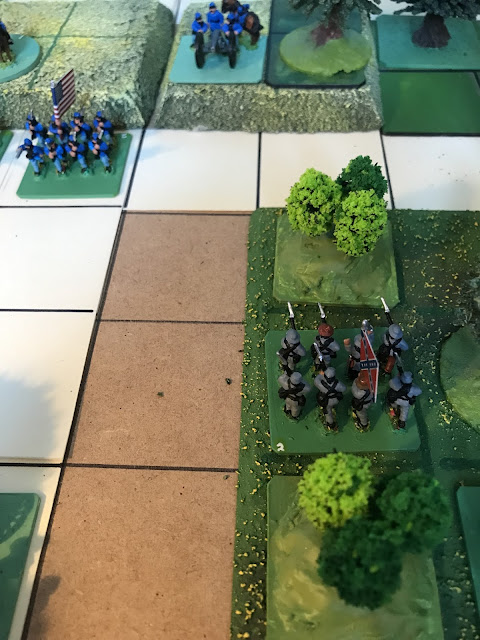
The figures are a mixture of Peter Pig and Miniature Figurines. The flags are from Peter Pig.
The hills are made from garden kneeling mats from Wilkinsons. The trees are from various manufacturers, one being Guagemaster.
The wood outline bases are from S and A Scenics , some from picture framing cardboard. The river and road sections are from thin cardboard.
The square figure stands are cut from picture framing cardboard. The round 40mm mdf bases are from Minibits.
The snake fencing and hedgerow [ 6mm woodland ? ] is from Northumberland Painting Service and MBM Scenery.
The tentline hidden in the top left of the board is from Peter Pig.
As before, the board is 3 feet x 2 feet, [ 90cm x 60cm ].